Accessing Azure Storage services without storing secrets using Azurite, Docker, HTTPS and Azure - Part 1
Introduction
Hey there!
Lots of buzzwords, this title! Right? Well, let’s break it down a little.
Azurite is the official open-source Azure Storage emulator. If you’re familiar with the old-school Azure Storage Emulator, Azurite is its successor. You can use Azurite to emulate the Azure Blob, Queue and Table Storage cloud services on your local machine.
If you’re using these Azure services, there’s a high probability you’re using the Azure Storage client libraries. Whether you’re using these for .NET, Python, JavaScript or any other language is irrelevant to this blog post.
When using the Azure Storage client libraries (or any other Azure libraries), you’re going to want to authenticate to Azure at some point. Whether that’s on your local development environment already or in a cloud environment at a later stage, doesn’t matter.
Handling authentication to Azure or its emulators on your local machine and in Azure without too much hassle can be daunting. For this purpose, the DefaultAzureCredential has been created by Microsoft. This mechanism allows you to write your code agnostic to your credentials. You no longer need to store identifiers and secrets in your application.
Using the Azure client libraries and the DefaultAzureCredential in conjunction with Azurite requires communicating over HTTPS.
In this blog series, we’ll cover how to set up Azurite in Docker, using HTTPS and a self-signed certificate. We’ll connect our Azurite emulator to an example application using the Azure client libraries without storing any secrets in our application. Our example application will be capable of connecting to both our local emulator and an Azure cloud environment. Additionally, we’ll cover how to use Azurite over HTTPS with the Azure Storage Explorer to view and manage the storage in your emulator.
The first part of this blog series will focus on setting up our environment. We’ll set up Azurite in Docker and set up the Azure Storage Explorer.
Read the other parts here:
- Part 2 - Setting up a sample .NET application for interacting with Azure Blobs
- Part 3 - Using the DefaultAzureCredential and configuring Azurite for HTTPS with a self-signed certificate
- Part 4 - Containerizing our application and communicating with the Azurite container
- Part 5 - Optimizing our application’s Docker image and using environment variables
- Part 6 - Provisioning, deploying to and using real Azure components
Part 1, 2 and 3 are mainly focussing on the technical aspect of integrating with Azurite on your machine, using a self-signed TLS certificate. On the other hand, part 4, 5 and 6 are focussed on deploying the same application to a real-world Azure environment. Either way, this series will allow you to connect to both Azurite and real-world Azure Storage Accounts without keeping any kind of security credential such as a connection string or key in your code or application settings/environment variables.
Prerequisites
If you want to follow along with this blog series, you will need the following software and services:
- Docker
- Docker Compose
- .NET 8 SDK
- OpenSSL (Windows binaries/Linux has package manager support if required)
- Azure Storage Explorer
- An Azure account
- Azure CLI
Note that I’m doing this on a Windows machine using WSL2 and Visual Studio Code. All applications and tools are available cross-platform. The code is available in my Github repository as well.
Setting up Azurite in Docker using Compose
Let’s get started!
We will begin by setting up Azurite in Docker. Let’s create a Compose file in a new directory.
mkdir ~/azurite-democd ~/azurite-demotouch compose.yaml
Let’s open up our Compose file and add Azurite as a service. I’m using Visual Studio Code but you can use any editor you prefer of course.
Taking a look at Microsoft’s documentation on Azurite, we can see how to run Azurite in Docker. We’ll use this information to create our Compose file.
Our Compose file should look something like this:
services:
  azurite:
    container_name: azurite
    image: mcr.microsoft.com/azure-storage/azurite
    ports:
      - 10000:10000
      - 10001:10001
      - 10002:10002
Let’s run our Compose file: docker compose up -d.
Azurite is now running as a Docker container on ports 10000, 10001 and 10002. If we inspect the container’s logs we’ll see this confirmed (docker logs azurite):
Azurite Blob service is starting at http://0.0.0.0:10000
Azurite Blob service is successfully listening at http://0.0.0.0:10000
Azurite Queue service is starting at http://0.0.0.0:10001
Azurite Queue service is successfully listening at http://0.0.0.0:10001
Azurite Table service is starting at http://0.0.0.0:10002
Azurite Table service is successfully listening at http://0.0.0.0:10002
We now have a very simple Azurite docker container running with ephemeral storage (meaning all data is removed once the container is removed).
Setting up data persistence for our Azurite container
When the container gets restarted, deleted or otherwise inconvenienced, all our data disappears. Obviously this is quite annoying, so let’s set up a persistent location for Azurite. There are two approaches to persisting data for Docker containers. One of them is a volume while the other is a bind mount. You can read more about these two mechanisms in Docker’s documentation.
For this scenario I’m going to choose a volume, since we won’t be interacting directly with the files in the Azure Storage, but rather through Azure Storage Explorer. Of course, if you do want to choose a bind mount, that’s perfectly fine as well and will work just fine too.
Fun fact! We are going to use a bind mount for the certificate sharing in our Azurite and .NET application containers in part 4.
Let’s open up our Compose file (~/azurite-demo/compose.yaml) and at the bottom of the file add a new volume called blobs like so:
volumes:
  blobs:
Next, we’ll reference it in our Azurite service, below our ports definition:
services:
  azurite:
    container_name: azurite
    image: mcr.microsoft.com/azure-storage/azurite
    ports:
      - 10000:10000
      - 10001:10001
      - 10002:10002
    volumes:
      - blobs:/data
Now your Compose file looks like:
services:
  azurite:
    container_name: azurite
    image: mcr.microsoft.com/azure-storage/azurite
    ports:
      - 10000:10000
      - 10001:10001
      - 10002:10002
    volumes:
      - blobs:/data

volumes:
  blobs:
If you do bind your volume to the
/datapath of the container, you need to specify the location in the startup command. More on the startup command will be covered in part 3.
Run the Compose services by executing docker compose up -d. You can now stop and delete the Azurite container (docker rm -f azurite), re-run it by running docker compose up -d and you’d keep your data.
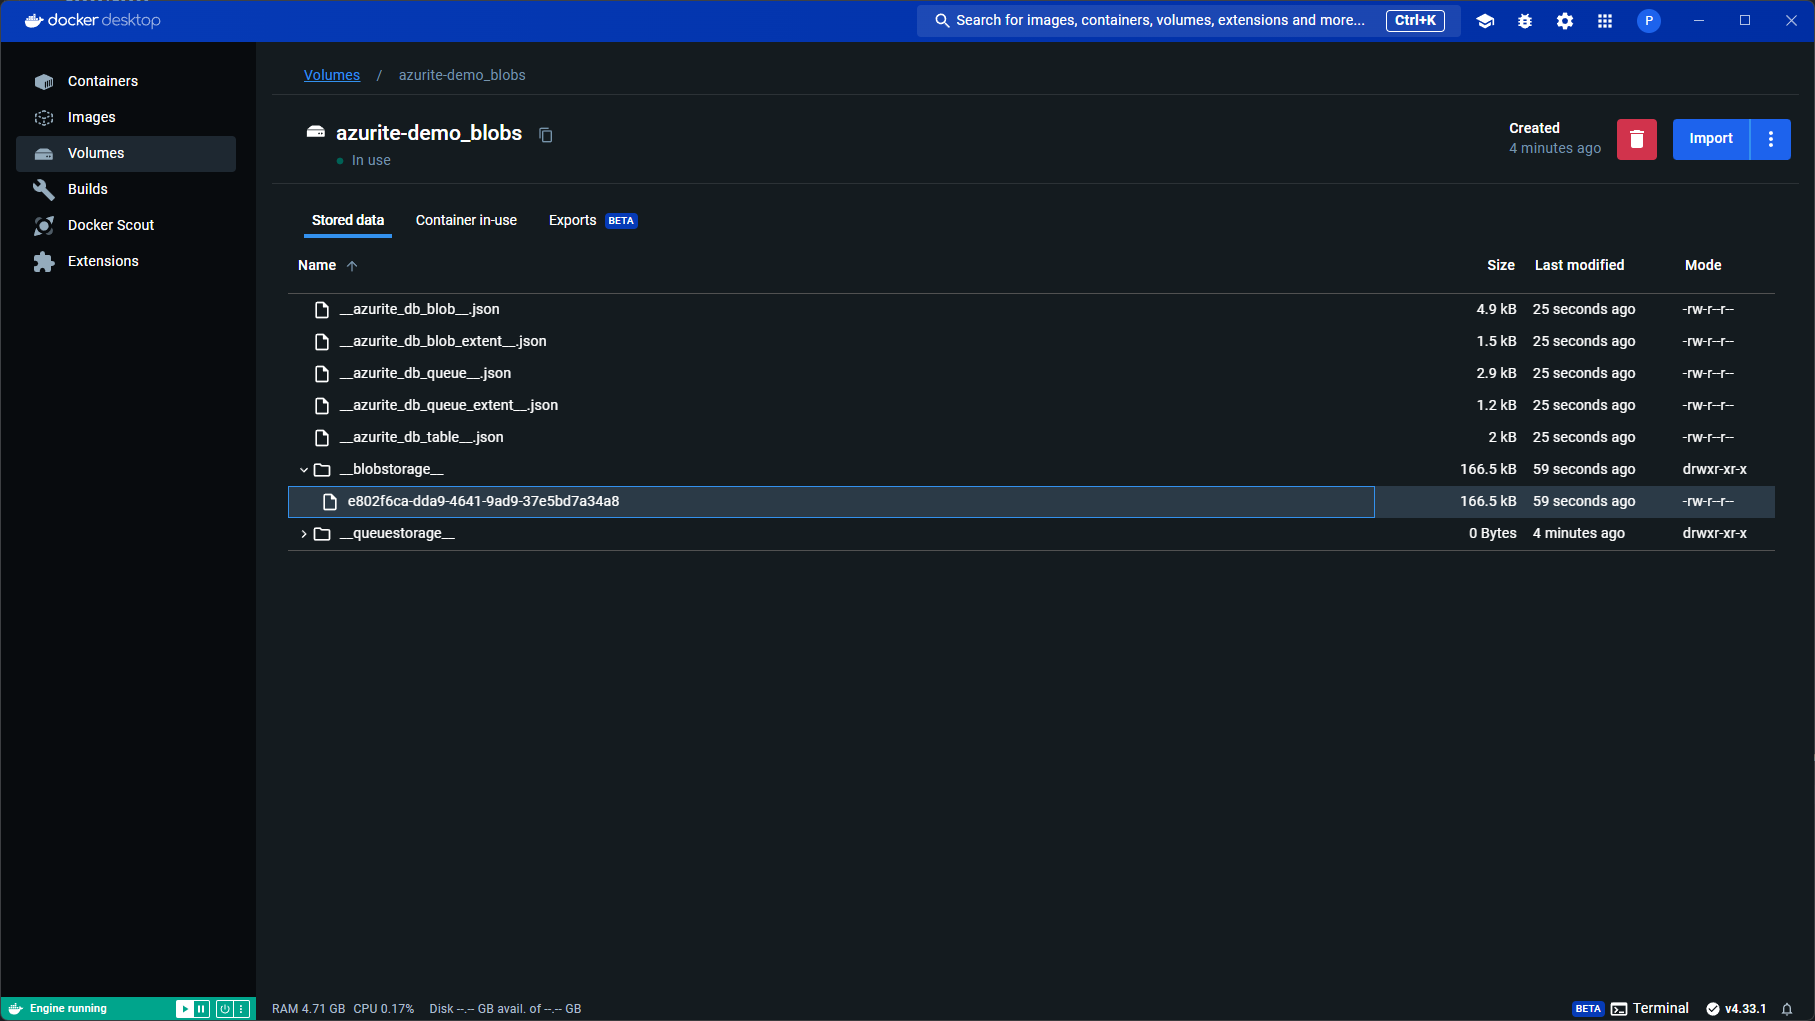
You can also inspect the Docker volume (docker volume inspect azurite-demo_blobs) or use Docker Desktop to view the volume like so:

Setting up the Azure Storage Explorer
Great! We’ve got Azurite up and running. However, currently we don’t have an easy way to manage and view its data. Let’s fix that!
Grab the Azure Storage Explorer tool from Microsoft’s website. Download the version for your operating system and run it after installing.
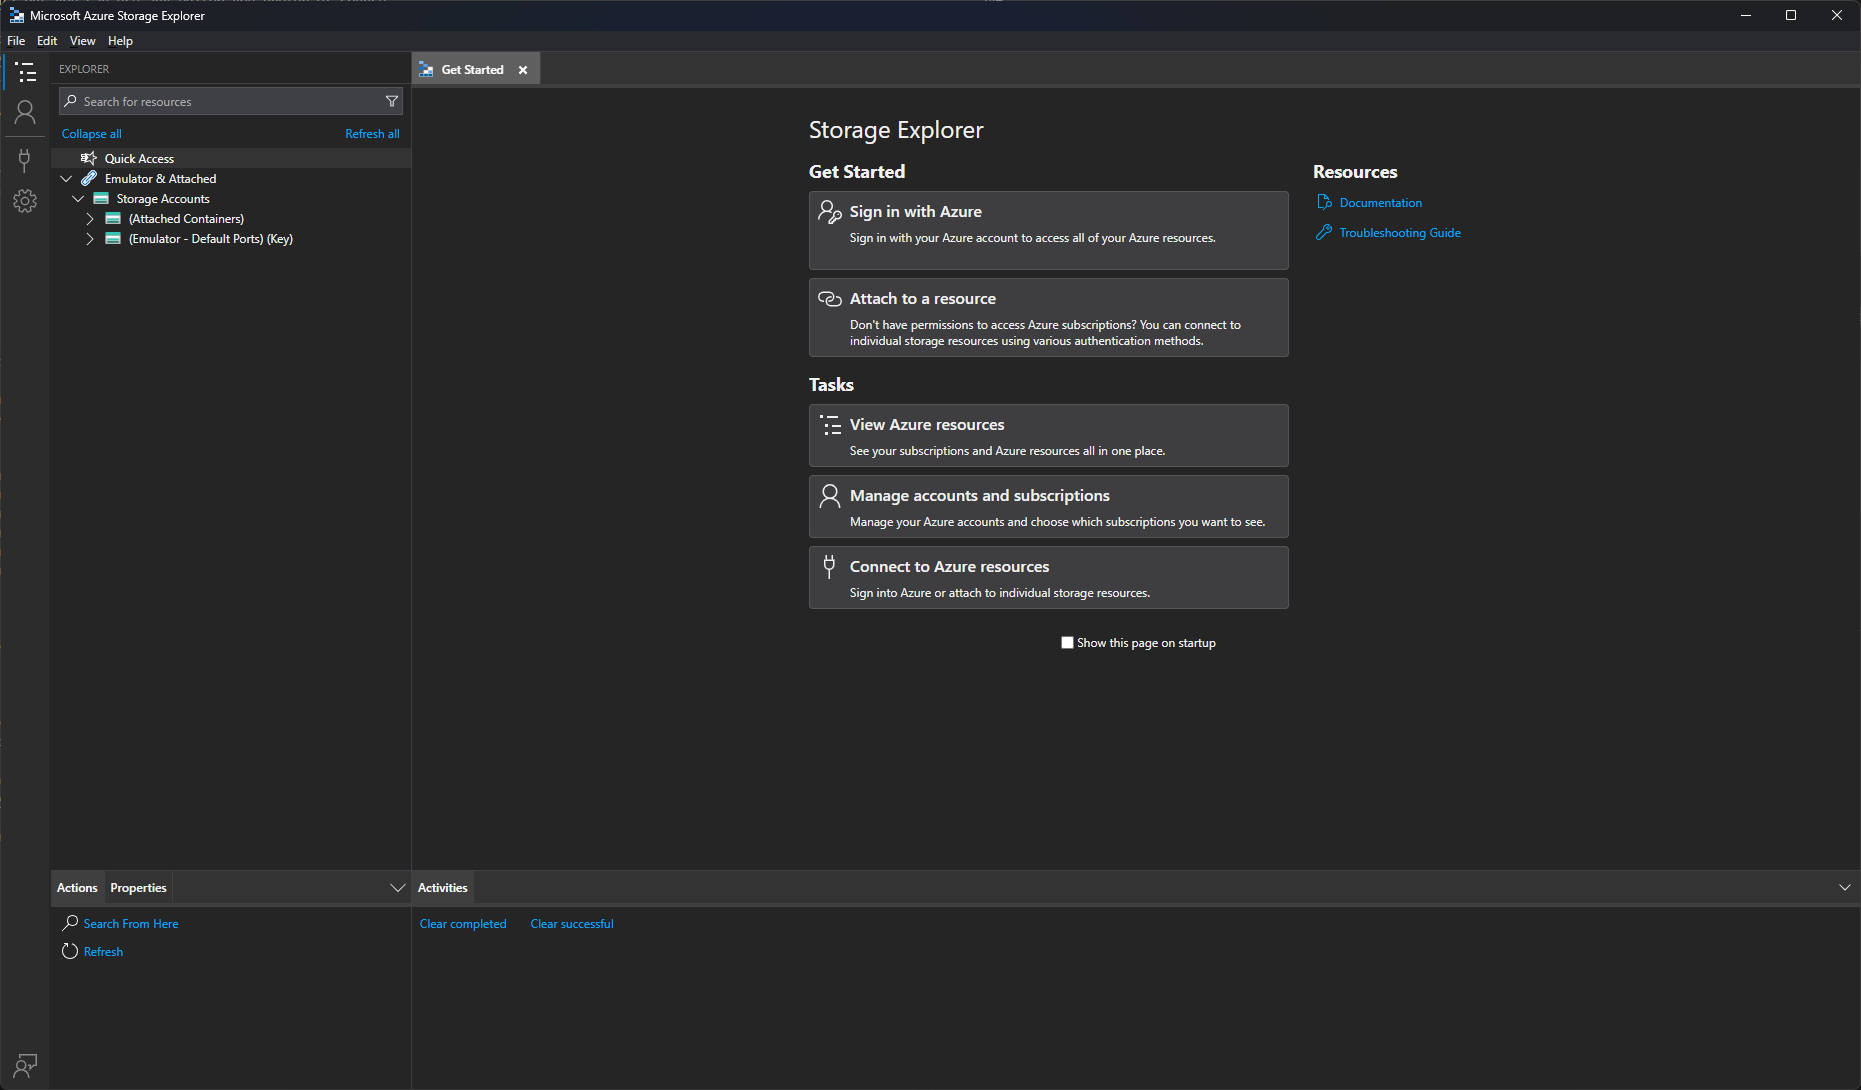
You should be greeted by a screen similar to this:

Azure Storage Explorer has attached the Storage Emulator by default (whether that’s the legacy Azure Storage Emulator, or Azurite).
- Expand the
(Emulator - Default Ports) (Key)node in the Explorer on the left hand side. - Open the
Blob Containersnode
You’ll see that there aren’t any containers at the moment. You’ll just see a View all button that won’t show you anything no matter how often you mash it.
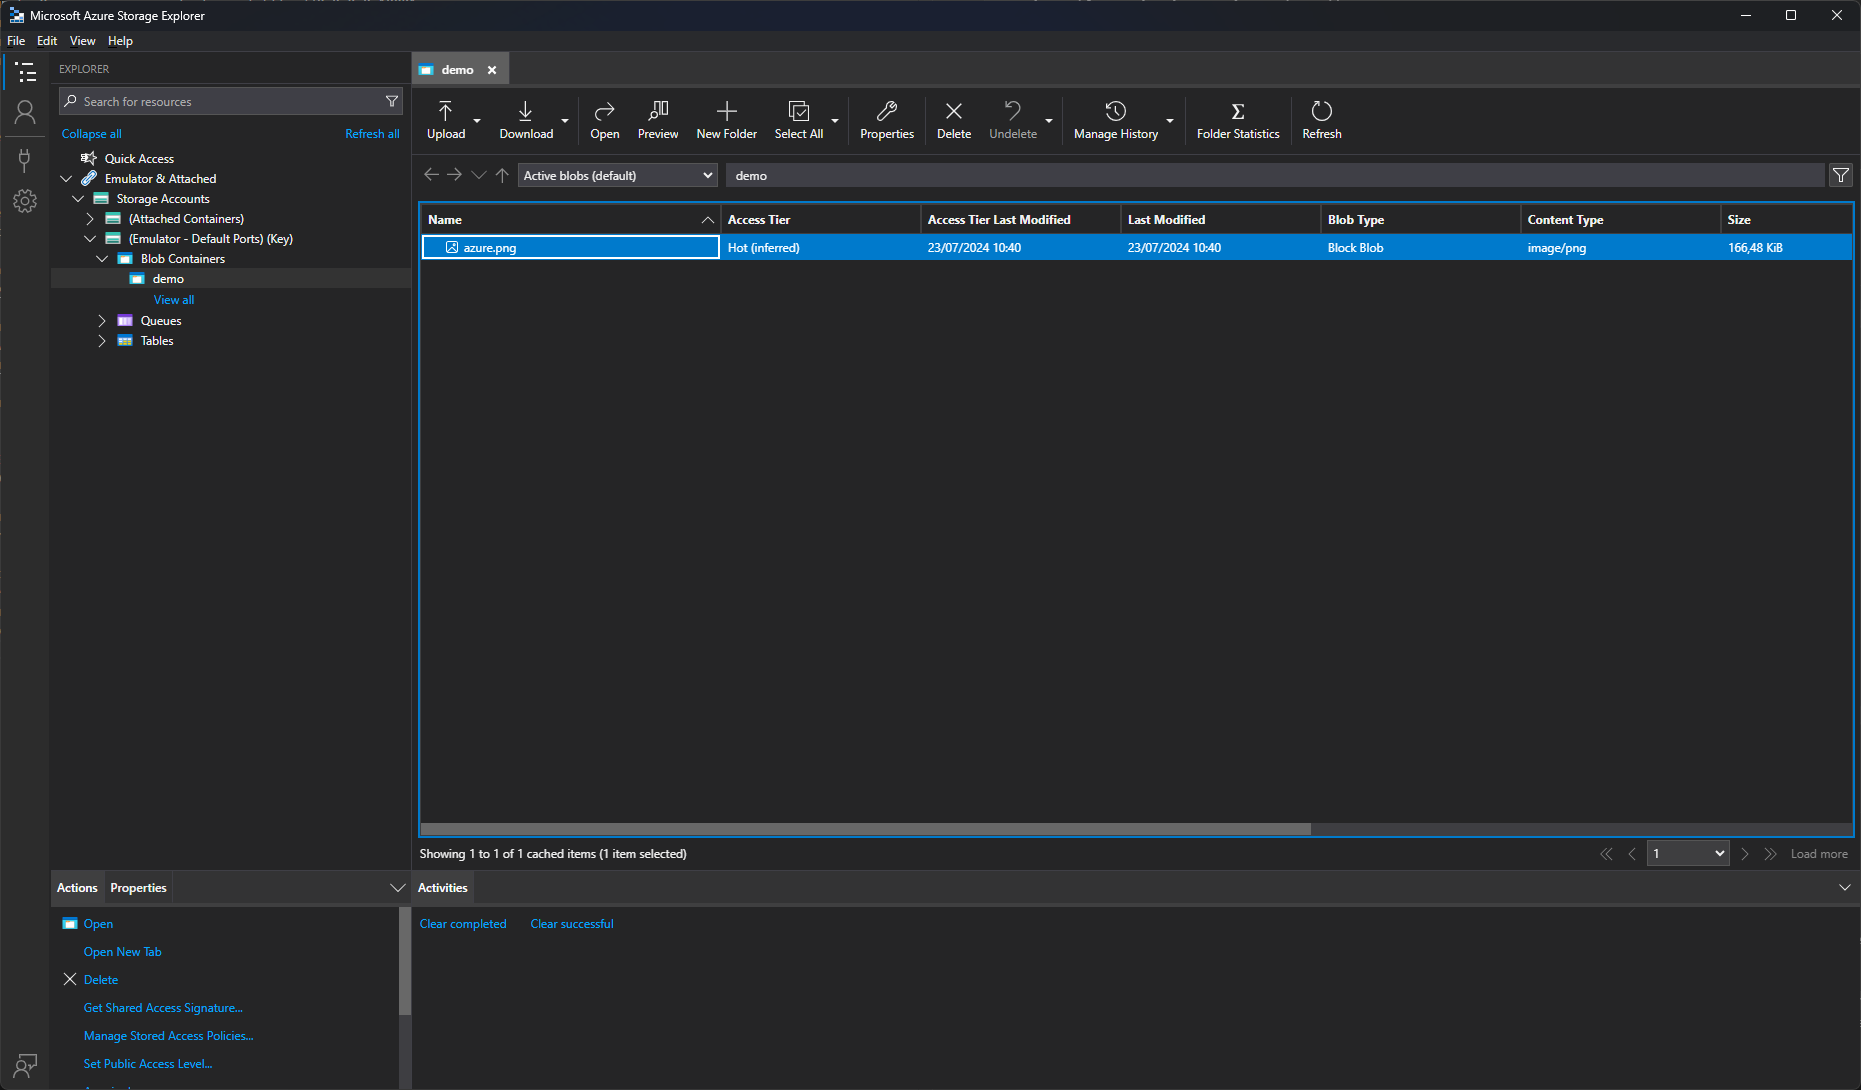
Let’s create a container to verify we can access Azurite properly. Right-click the Blob Containers node and select Create Blob Container. Enter a name for your container (e.g. demo) and confirm. The container has been created. If you wish, you can even upload a file but creating a container tells us enough already. Azurite and the Azure Storage Explorer are connected.
Finally your Azure Storage Explorer could look something like this:

Next up
This concludes the first part of this blog series! Setting up Azurite and the Storage Explorer will give us a solid foundation for setting up our example application where we’ll connect our Docker container to so we can actually interact with Azure Storage.
Continue to part 2 here.