Accessing Azure Storage services without storing secrets using Azurite, Docker, HTTPS and Azure - Part 4
Introduction
Welcome to part 4 of this blog series where we uncover how Azurite can emulate Azure Storage services using Docker, HTTPS and the DefaultAzureCredential!
In the previous parts we’ve covered setting up Azurite as a Docker container, setting up a sample .NET application to interact with the Azure Storage using the Azure SDKs and setting up the DefaultAzureCredential to simplify Azure access in code.
You can read the previous parts here:
In this part of the series we will focus on containerizing our application and allowing communication between our Azurite container and our .NET application’s container.
Containerizing the application
We will start by containerizing our sample .NET application. We’re going to create a multi-stage Dockerfile to optimize the image the application will run on.
If you have been following along with another stack or programming language, you can just focus on the changes we do to the Dockerfile later on, don’t worry about specific .NET things here.
Let’s head over to our project root folder (~/azurite-demo) and create a Dockerfile by running touch Dockerfile.
If you prefer to use Visual Studio/dotnet’s generation of a Dockerfile, that’s perfectly fine as well.
First up is creating a build stage where we can use the .NET SDK to build and publish our application. We’ll stick to a rather standard approach for this:
FROM mcr.microsoft.com/dotnet/sdk:8.0 AS build-env
WORKDIR /app

COPY ./demo-app ./
RUN dotnet restore
RUN dotnet publish --no-restore -c Release -o /publish
A stage called build-env will build and publish our application after copying the necessary source files into the Docker container.
The next stage will be the runtime stage, which will be responsible for running our application by using a slimmed-down image without the SDK.
Interested in more information about multi-stage builds? Check out Docker’s documentation.
FROM mcr.microsoft.com/dotnet/aspnet:8.0

WORKDIR /app
COPY --from=build-env /publish .

ENTRYPOINT ["dotnet", "demo-app.dll"]
Your entire Dockerfile should now look like this:
FROM mcr.microsoft.com/dotnet/sdk:8.0 AS build-env
WORKDIR /app

COPY ./demo-app ./
RUN dotnet restore
RUN dotnet publish --no-restore -c Release -o /publish

FROM mcr.microsoft.com/dotnet/aspnet:8.0

WORKDIR /app
COPY --from=build-env /publish .

ENTRYPOINT ["dotnet", "demo-app.dll"]
Now that we have our image ready for use, let’s add it to our Compose file. Navigate to ~/azure-demo/compose.yaml and add the image to the file like so:
demo_app:
  container_name: demo-app
  build:
    context: .
    dockerfile: Dockerfile
  ports:
    - 8080
This Compose service will start a container using our Dockerfile on a random available host port binding to the container’s port of 8080.
Run docker compose up -d to run the container.
Navigate to the exposed port (e.g. http://localhost:56659/) and verify you see the Hello World! output from the root endpoint:

Now let’s try the /blob endpoint. When we open that endpoint, we can see (a lot) of errors in our Docker logs. If we scroll through those errors we see something like this:
CredentialUnavailableException: DefaultAzureCredential failed to retrieve a token from the included credentials. See the troubleshooting guide for more information. https://aka.ms/azsdk/net/identity/defaultazurecredential/troubleshoot
- EnvironmentCredential authentication unavailable. Environment variables are not fully configured. See the troubleshooting guide for more information. https://aka.ms/azsdk/net/identity/environmentcredential/troubleshoot
- WorkloadIdentityCredential authentication unavailable. The workload options are not fully configured. See the troubleshooting guide for more information. https://aka.ms/azsdk/net/identity/workloadidentitycredential/troubleshoot
- ManagedIdentityCredential authentication unavailable. No response received from the managed identity endpoint.
- Visual Studio Token provider can't be accessed at /root/.IdentityService/AzureServiceAuth/tokenprovider.json
- Azure CLI not installed
- PowerShell is not installed.
- Azure Developer CLI could not be found.
Our DefaultAzureCredential can’t find a way to authenticate the container with Azure.
Connecting our container to Azure
As described in Part 3, due to the nature of the DefaultAzureCredential mechanism, we will need a way to authenticate to Azure. There are several ways to do so (you can view the diagram in part 3).
The easiest way to do so through our Docker container is by setting environment variables.
There are several environment variables that can be set in order to authenticate to Azure.
For our purposes, the easiest way is by creating a service principal in Microsoft Entra ID by running the following command: az ad sp create-for-rbac -n azurite-demo
Your should receive output similar to:
{
  "appId": "app-id-guid",
  "displayName": "azurite-demo",
  "password": "generated-password",
  "tenant": "tenant-id-guid"
}
Let’s create a new file in our project root ~/azurite-demo called azure.env. Run touch azure.env.
If you’re using a version control system, make sure you do not commit this file. Never share this environment file with someone else as it can hold sensitive information.
Open up the file in your favorite editor and add the following code:
AZURE_TENANT_ID=tenant-id-guid
AZURE_CLIENT_ID=app-id-guid
AZURE_CLIENT_SECRET=generated-password
Replace tenant-id-guid with your Tenant ID, app-id-guid with your App ID and generated-password with your password.
Note that
appIdin the JSON output is also referred to as theClient IDand thepasswordis also called theClient secret.
For more information on the available environment variables and the options to configure the DefaultAzureCredential mechanism, view Microsoft’s documentation on the matter.
Updating the Compose file
Now that we’ve got our file with a way to authenticate to Azure, let’s update our Compose file to actually use this.
In our Compose file (~/azurite-demo/compose.yaml), at our demo-app service, let’s add the following:
env_file:
  - azure.env
Resulting in the entire demo-app service to look something like this:
demo_app:
  container_name: demo-app
  build:
    context: .
    dockerfile: Dockerfile
  env_file:
    - azure.env
  ports:
    - 8080
Be sure to run docker compose up -d to let the environment variables take effect.
Let’s try to run it! Go to the /blob endpoint of the Docker container. Again we’l see a lot of errors in our container logs…
If we scroll through the errors, eventually we come across this:
info: Azure.Core[18]
      Request [4976c2d9-39e7-43a2-8893-4d2d22cc2201] exception Azure.RequestFailedException: Connection refused (127.0.0.1:10000)
       ---> System.Net.Http.HttpRequestException: Connection refused (127.0.0.1:10000)
       ---> System.Net.Sockets.SocketException (111): Connection refused
Regenerating our self-signed certificate
In Part 3 of this blog series, we have created a self-signed TLS certificate for our Azurite container so our machine could securely communicate with it. When we generated that certificate, we’ve done so for the IP address 127.0.0.1. Due to how Docker’s networking is set up we can’t connect to our Azurite Docker container by this IP address: 127.0.0.1. From the container’s point of view this would be their own loopback address. Not the place where Azurite is running.
The easiest way to fix this is to communicate with our Docker container using the container name. Docker automatically supports communication between containers by their name.
Before we update our code, we will create a new self-signed certificate for our container. We can remove our previously generated certificates from our ~/azurite-demo/certs folder by running rm ~/azurite-demo/certs/*.pem. Now we’ll create a new self-signed certificate by running openssl req -newkey rsa:2048 -x509 -nodes -keyout key.pem -new -out cert.pem -sha256 -days 365 -addext "subjectAltName=IP:127.0.0.1,DNS:azurite" -subj "/C=CO/ST=ST/L=LO/O=OR/OU=OU/CN=CN". This generates a certificate valid for the IP address 127.0.0.1 and the DNS name azurite.
Indeed, if we inspect the generated certificate you’ll see something along these lines:
{
  ... // removed for brevity
  "extensions": {
      "subjectKeyIdentifier": "5B:35:B5:AE:BF:DB:EA:D9:EC:8E:88:78:A2:9A:55:62:8F:BB:84:D7",
      "authorityKeyIdentifier": "keyid:5B:35:B5:AE:BF:DB:EA:D9:EC:8E:88:78:A2:9A:55:62:8F:BB:84:D7\n",
      "basicConstraints": "CA:TRUE",
      "subjectAltName": "IP Address:127.0.0.1, DNS:azurite"
  }
}
First off, we will clean up our stored certificates from the previous blog post. We can execute to following commands on Linux to reset the certificate store:
sudo rm /usr/local/share/ca-certificates/*
sudo update-ca-certificates --fresh
Once that’s done, we can trust our new certificate:
sudo cp ~/azurite-demo/certs/cert.pem /usr/local/share/ca-certificates/cert.crt
sudo update-ca-certificates
And lastly, since we’ve updated our certificate we have to restart our Azurite container to accept the new file: docker restart azurite.
Let’s change our service URL. Go to our Program.cs class in ~/azurite-demo/demo-app. Instead of 127.0.0.1, we will use our Azurite’s container name: azurite.
Change your service URL to reflect this, like so:
builder.Services.AddAzureClients(clientBuilder =>
{
  clientBuilder.AddBlobServiceClient(new Uri("https://azurite:10000/devstoreaccount1"));
  clientBuilder.UseCredential(new DefaultAzureCredential());
});
Alright! Let’s update our docker container by running docker compose up -d --build (we’ll use the --build flag to force our container to use a new image version).
Now we can navigate to our /blob endpoint. Let’s see what happens…
We’re getting exceptions again. Will this never end? Don’t worry though, it will.
If we take a look at our container logs, we can find an error like:
info: Azure.Core[18]
      Request [3eed15d1-0f09-42d3-b50e-aec55de2bcf1] exception Azure.RequestFailedException: The SSL connection could not be established, see inner exception.
       ---> System.Net.Http.HttpRequestException: The SSL connection could not be established, see inner exception.
       ---> System.Security.Authentication.AuthenticationException: The remote certificate is invalid according to the validation procedure: RemoteCertificateNameMismatch, RemoteCertificateChainErrors
Other SSL errors that can be caused by untrusted certificates are errors in the
PartialChainorUntrustedRooterrors.
This happens because our container does not trust the Azurite certificate. This certificate is self-signed after all and does not come from a trusted source.
Updating the Dockerfile to support our certificate
In order to get the container to trust our certificate, we can update the Dockerfile.
Let’s head over to our previously created Dockerfile (~/azurite-demo/Dockerfile).
Since we’re interested in our container trusting the certificate when running, we’ll need to update the second stage (the runtime stage) of the Dockerfile.
We can copy our generated certificate into our image and tell Linux to trust it. Let’s add the code necessary to do so:
WORKDIR /certs
COPY ./certs/cert.pem .
RUN cp cert.pem /usr/local/share/ca-certificates/cert.crt
RUN update-ca-certificates
Your entire Dockerfile should now look like this:
FROM mcr.microsoft.com/dotnet/sdk:8.0 AS build-env
WORKDIR /app

COPY ./demo-app ./
RUN dotnet restore
RUN dotnet publish --no-restore -c Release -o /publish

FROM mcr.microsoft.com/dotnet/aspnet:8.0

WORKDIR /certs
COPY ./certs/cert.pem .
RUN cp cert.pem /usr/local/share/ca-certificates/cert.crt
RUN update-ca-certificates

WORKDIR /app
COPY --from=build-env /publish .

ENTRYPOINT ["dotnet", "demo-app.dll"]
Okay! That should do the trick! Run docker compose up -d --build to rebuild our container with the new Dockerfile instructions.
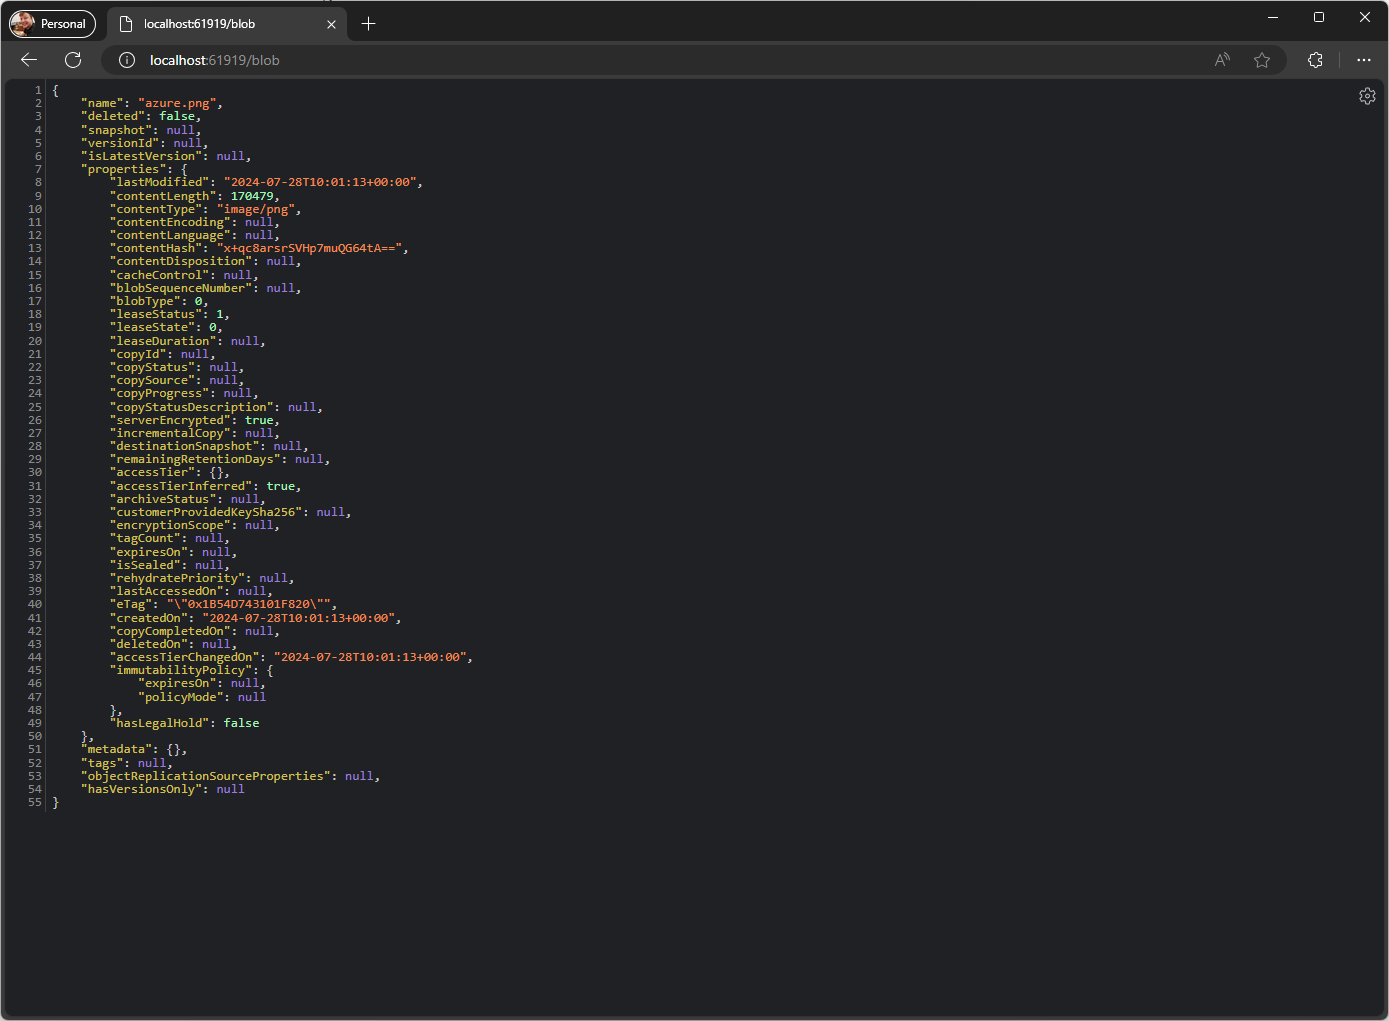
Navigate to the /blob endpoint of the container’s URL and you should see your blob data (or a message you don’t have an item):

If you still encounter SSL errors in your container, make sure you’ve restarted the Azurite container (docker restart azurite) after you’ve updated the certificate with the new subject (DNS:azurite).
Next steps
Alrighty then! Now we have both our application and Azurite running in containers and talking to each other!
Great! This also allows you to use the certificate on your host machine to inspect the data in the Azurite container using the Azure Service bus Explorer.
However, currently our Dockerfile always uses the certificates which is useless for an environment other than development. In the next part we’ll tidy up and optimize our Dockerfile as well as our code to use environment variables for the Azurite URL.
Continue to part 5 here.